Jordan Valley Occupation: British and Allied Operations in WWI
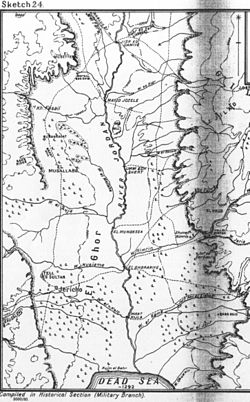
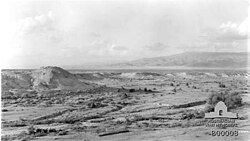
Between February and September 1918, the south-western section of the Jordan Valley, stretching from the Dead Sea to the Wadi Auja, became a critical strategic zone in the Middle Eastern theatre of World War I. Following the capture of Jerusalem in late 1917, British and Allied forces sought to secure the valley to establish a foothold for future offensives against the Ottoman and German Empires.
The occupation was characterized by a grueling struggle against both a determined enemy and a hostile environment. While the British Empire eventually secured a victory in the region, the cost was measured not only in combat casualties but in a relentless battle against extreme heat and disease.
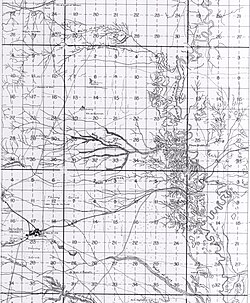
Key Facts
- Timeline: February to September 1918.
- Primary Belligerents: British Empire (UK, British India) vs. Ottoman Empire and German Empire.
- Key Commanders: General Edmund Allenby and Harry Chauvel for the British; Otto Liman von Sanders and Mohammed Jemal Pasha for the Ottomans.
- Strategic Goal: Maintaining a mobile garrison to protect bridgeheads and prepare for larger operations.
- Environmental Challenges: Extreme temperatures reaching 120°F (49°C) and widespread malaria.
Strategic Garrison and Force Composition
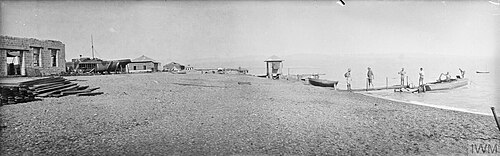
General Allenby opted to hold the valley primarily with mounted forces. This decision was based on the need for high mobility, allowing the British to keep the majority of their strength in reserve on higher ground while maintaining a flexible screen in the valley.
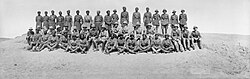
The garrison initially consisted of the 20th Indian Brigade, the Anzac Mounted Division, and the Australian Mounted Division. By May 17, the 4th and 5th Cavalry Divisions arrived to take over outposts outside the Ghoraniyeh bridgehead (a fortified crossing point), while the 15th (Imperial Service) Cavalry Brigade maintained the bridgehead itself.
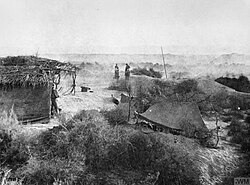
Later reinforcements included the 1st and 2nd Battalions of the British West Indies Regiment and the Jewish Legion (38th and 39th Battalions of the Royal Fusiliers). The force also utilized the Light Armoured Motor Brigade, whose cars were camouflaged with bushes to conduct sorties against Ottoman patrols.
Combat Operations and Enemy Attacks
The Ghoraniyeh Bridgehead
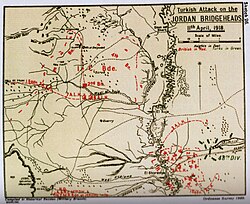
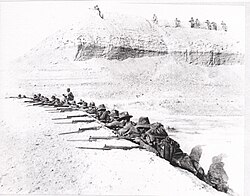
The Ghoraniyeh position was a heavily fortified defensive line featuring trenches and barbed wire, supported by artillery from the western bank. On April 11, the Ottoman 48th Division launched a massive attack at 04:00, pushing within 100 yards of the line. However, British artillery and a flanking maneuver by a light horse regiment forced the Ottoman forces to withdraw by nightfall.
The Threat of "Jericho Jane"
The Allied forces faced a persistent threat from long-range German and Ottoman artillery. One particular gun, nicknamed "Jericho Jane," was capable of firing targets over 12 miles (19 km) away. This 18-foot-long gun shelled Jericho and other back areas from well-disguised positions in the hills, often guided by German Taube aircraft.
Aerial Warfare
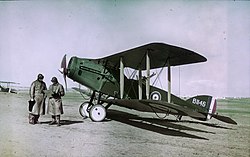
Air support played a dual role of reconnaissance and attack. By July, daily patrols were conducting machine-gun raids on enemy trains and transport parks near Beisan and Semakh. These missions provided critical intelligence, with nearly 1,000 aerial photographs covering 400 square miles of enemy territory.
Life in the Valley: Environment and Health
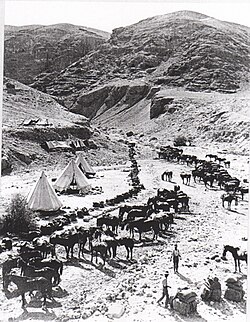
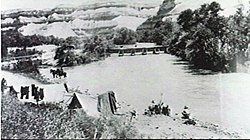
The Jordan Valley was a place of extremes. While the Jordan River provided a reliable water supply and a rare luxury for bathing, the climate was oppressive. Shade temperatures in medical tents frequently hovered between 109°F and 110°F, occasionally peaking at 120°F (49°C).
The Battle Against Malaria
Malaria was a constant threat to the troops. To combat this, the 9th and 11th Light Horse Regiments participated in a quinine trial. The results were stark: treated squadrons saw only 10 cases of malaria compared to 80 cases among untreated men.
For severe cases of malignant malaria, ice was transported daily from Jerusalem in sawdust-filled sacks. Medical staff used ice packs to rapidly lower the body temperatures of patients suffering from high fevers (104°F–105°F) before evacuating them to hospitals in Jerusalem.
Logistics and Troop Rotations
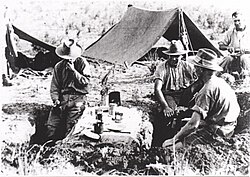
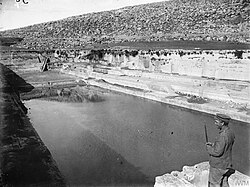
Due to the harsh conditions, the British implemented a rotation system. Brigades from the Anzac Mounted Division were periodically relieved and sent to rest camps in the cooler mountain air of Bethlehem and Solomon's Pools.
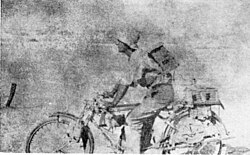
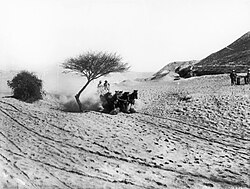
These movements were often conducted at night to avoid detection by enemy aircraft. For example, the Australian Mounted Division moved in three stages of 15 miles each to reach Ludd near Jaffa, traveling only between 20:00 and dawn.
Summary of Forces and Logistics
| Category | Details / Data |
|---|---|
| Primary Units | Anzac Mounted Division, Australian Mounted Division, 20th Indian Brigade, Jewish Legion |
| Key Locations | Ghoraniyeh, Jericho, Wadi Auja, Solomon's Pools |
| Peak Temp (Shade) | 120°F (49°C) |
| Medical Trend | Weekly admissions peaked in July (4.19%) |
| Quinine Trial Ratio | 1:2.3 (Treated vs. Untreated malaria cases) |
Frequently Asked Questions
What was "Jericho Jane"?
Jericho Jane was a long-range German/Ottoman artillery gun, approximately 18 feet long, that could fire high-explosive shells over 12 miles. It was used to shell Jericho and Allied camps from disguised positions.
How did the British combat malaria in the valley?
The British used daily doses of quinine as a preventative measure and employed ice packs—transported from Jerusalem—to treat patients with dangerously high fevers caused by malignant malaria.
Why did General Allenby use mounted troops instead of infantry?
Mounted troops provided the necessary mobility to patrol the valley while allowing the bulk of the force to remain in reserve on the higher, more hospitable ground.
What was the significance of the Ghoraniyeh bridgehead?
The Ghoraniyeh bridgehead was a vital defensive position that protected the crossing of the Jordan River, utilizing trenches, barbed wire, and artillery to repel Ottoman attacks.
How did the troops handle the extreme heat?
Troops utilized rotation cycles to rest in the cooler hills of Bethlehem and Solomon's Pools, and wore goggles and handkerchiefs to protect themselves from the intense dust during movements.